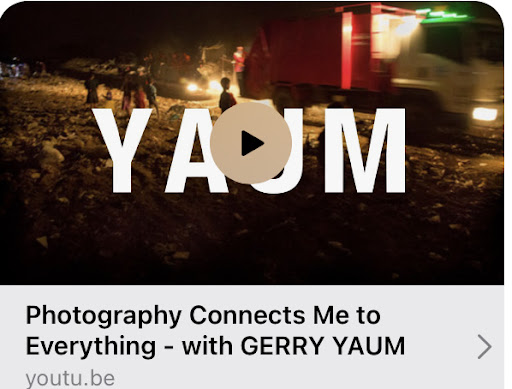
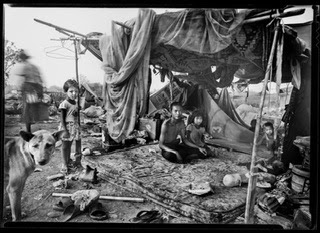
Here is a video I made up today of the printing of the "Two brothers in their garbage dump home, Mae Sot Thailand 2013" 'Exposure Photo Festival' show photograph. There are 8 steps in the printing process followed by bleaching and toning before the final archival wash.
Durst enlarger, 50mm El-Nikkor lens, Berger 16x20 paper, Dectol paper developer 1/1 for 3 minutes. The print will eventually be bleached and toned in Selenium. The photo will be signed, titled and numbered and then placed loose on archival board and over mat when framed. I do not dry mount my prints as it is not an archival process.
Printing steps:
1) 125 sec basic exposure at F4 with Agfa filter #1 1/2.
2) Dodge face of boy on left -15 seconds.
3) Dodge with cut dodging mask -85 seconds.
4) Burn left side with card +60 seconds.
5) Burn left bottom corner +40 seconds.
6) Burn background over boys head +20 seconds.
7) Burn boys lower t-shirts 15 seconds.
8) Burn right boys face +20 face and additional +10 lower face.
9) Burn with mask #1 burn +110 seconds at F2.8.
10) Burn with mask #2 +200 seconds with filter -1
Update: The print in its final version got more complicated, there were 14 steps in the end. I upped the basic contrast filter to #2 adjusted various burns, did more delicate dodging and added burns to the shirt and arm of the boy on the left. I also added more burns on the left highlighted area. Lots of work on this print and I am still not sure that I got it right. Printing is TOUGH! Tough but fun, often it is a you against negative type battle. You fight it out until the last man is left standing.


